FIRST STEP: MEASURE
First, measure the total length of the walls in the room and calculate how much molding you need. Always buy a little extra in case of damage.
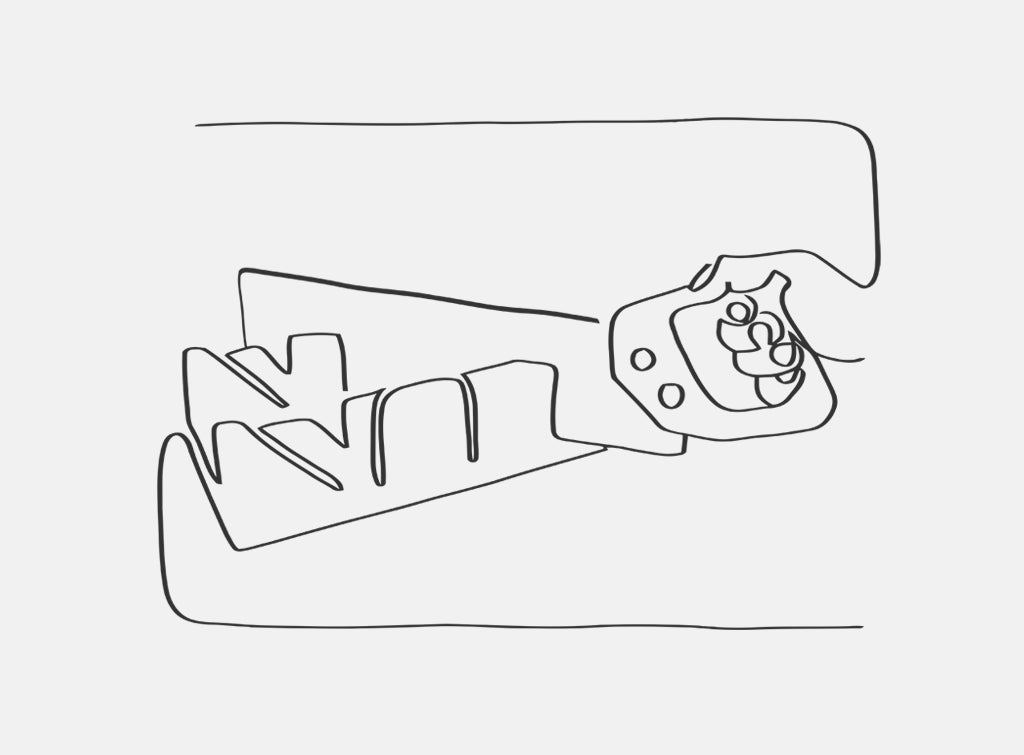
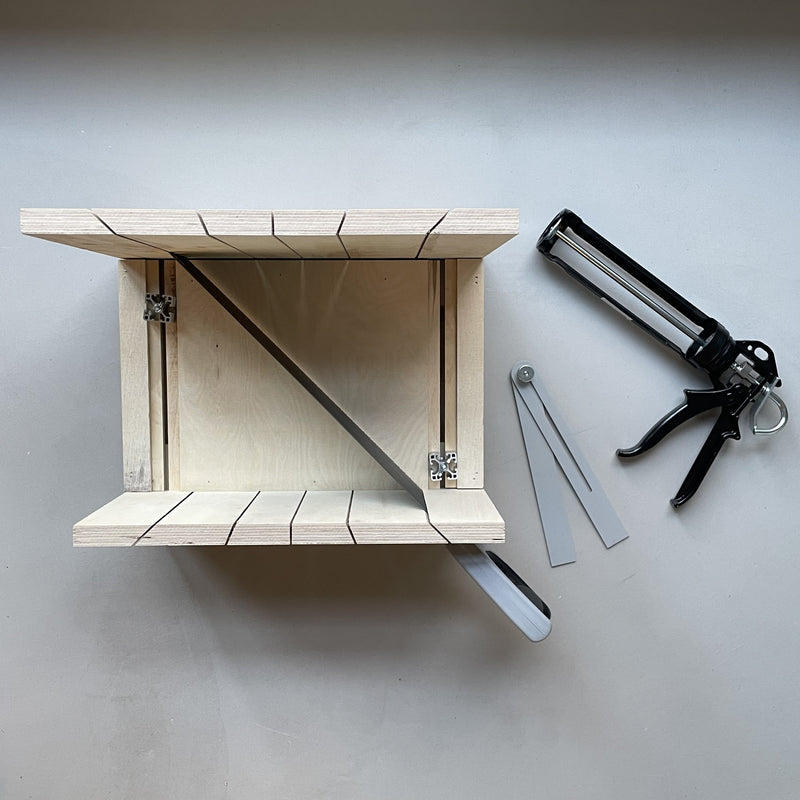
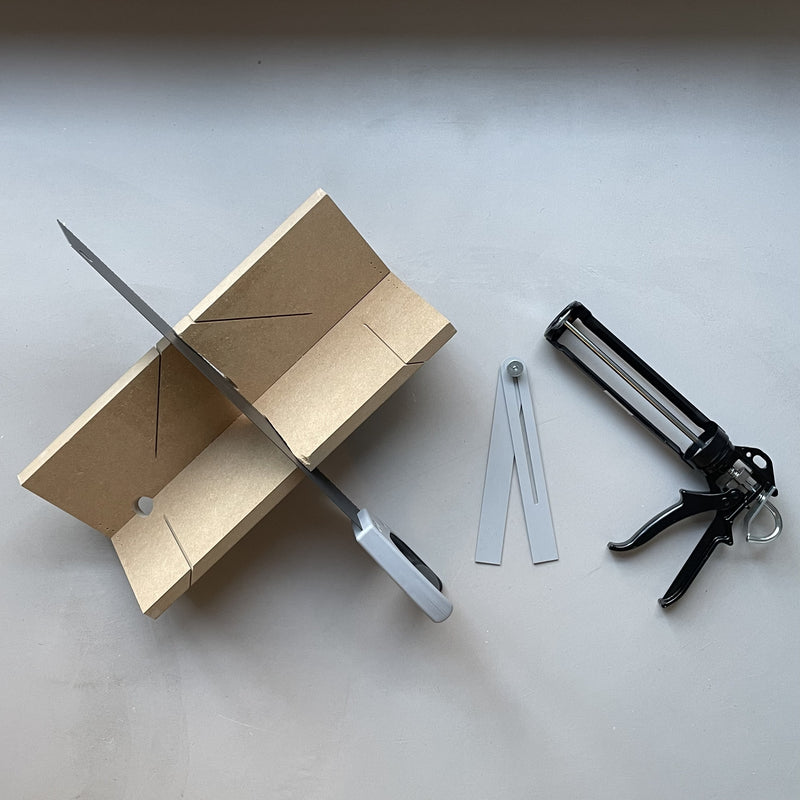
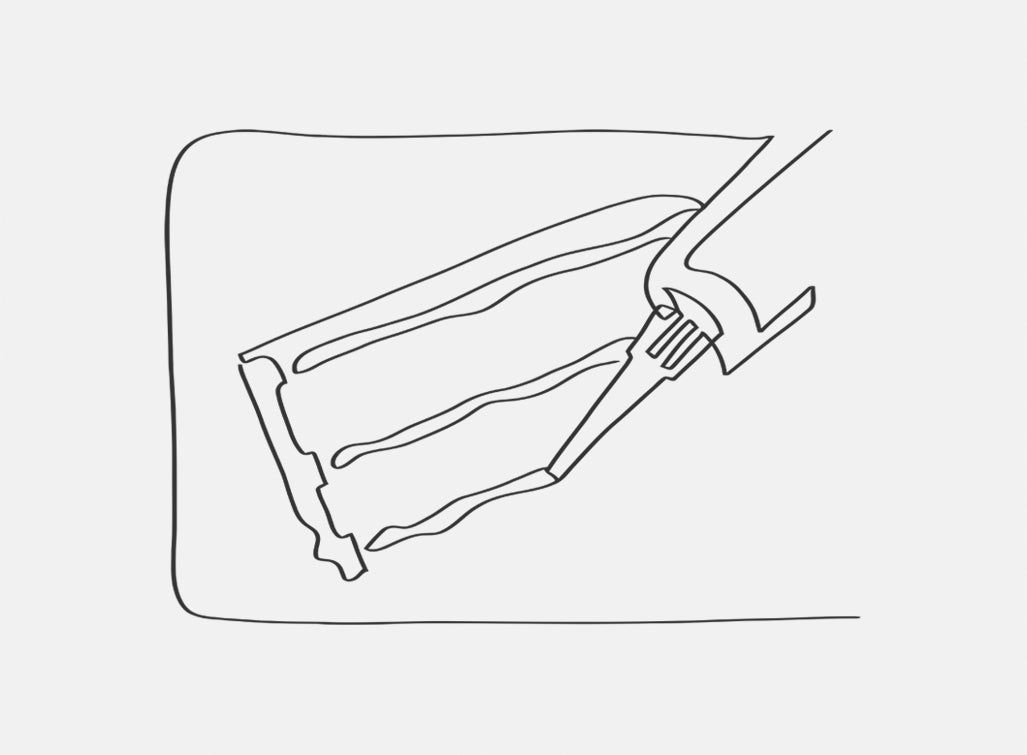
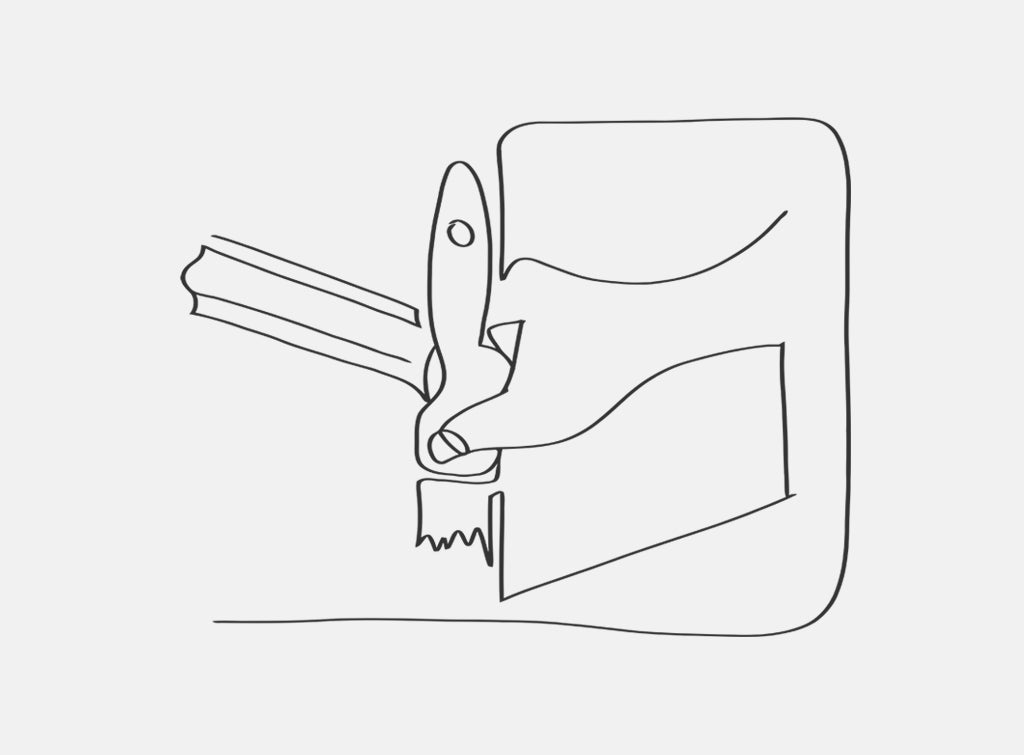
STEP TWO: CUT
Cut the strip to the right angle using a handsaw and mitre saw, or alternatively use a mitre saw and a suitable blade. Treat the cut areas with sandpaper (max 150) and remove sawdust with a damp sponge.
STEP THREE: INSTALL
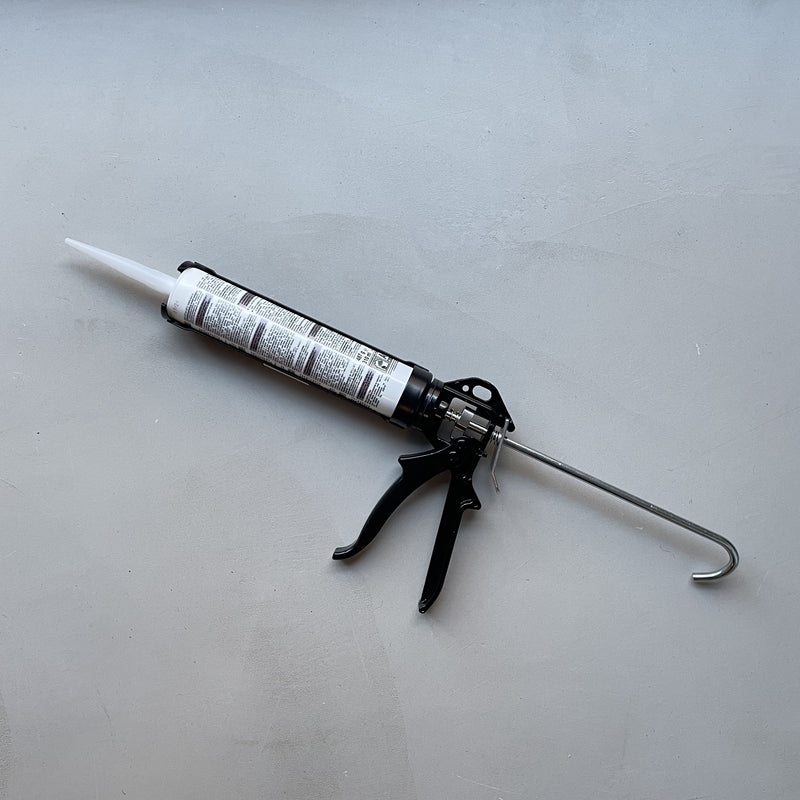
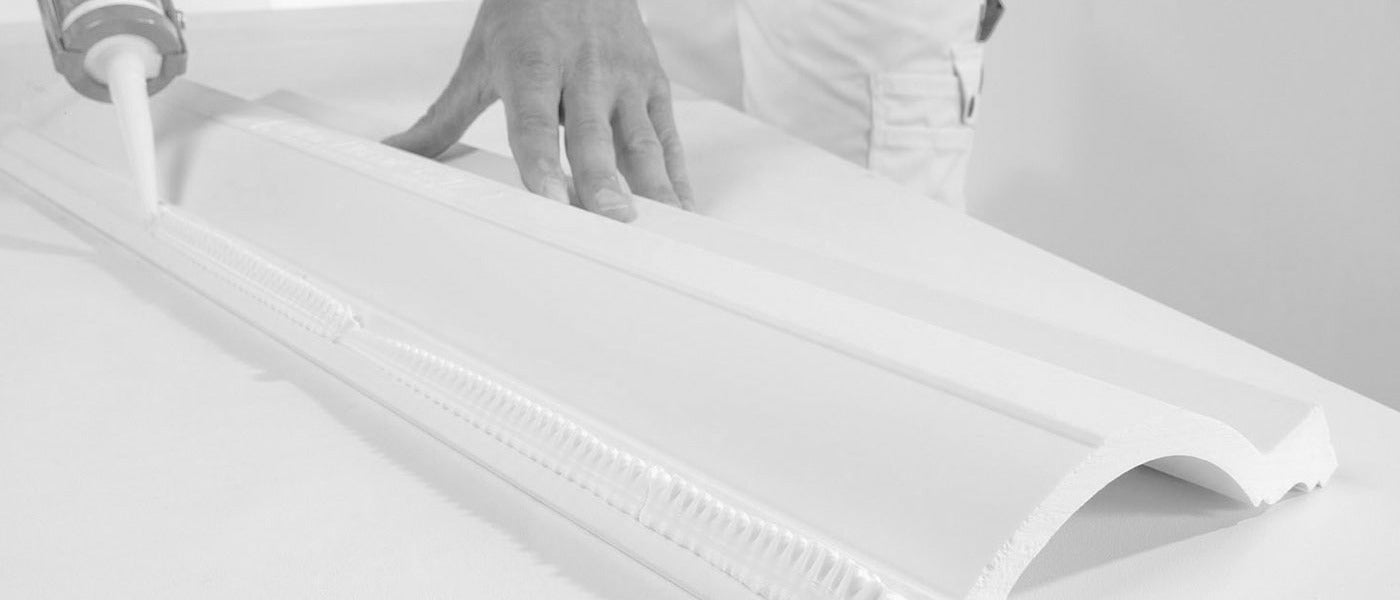
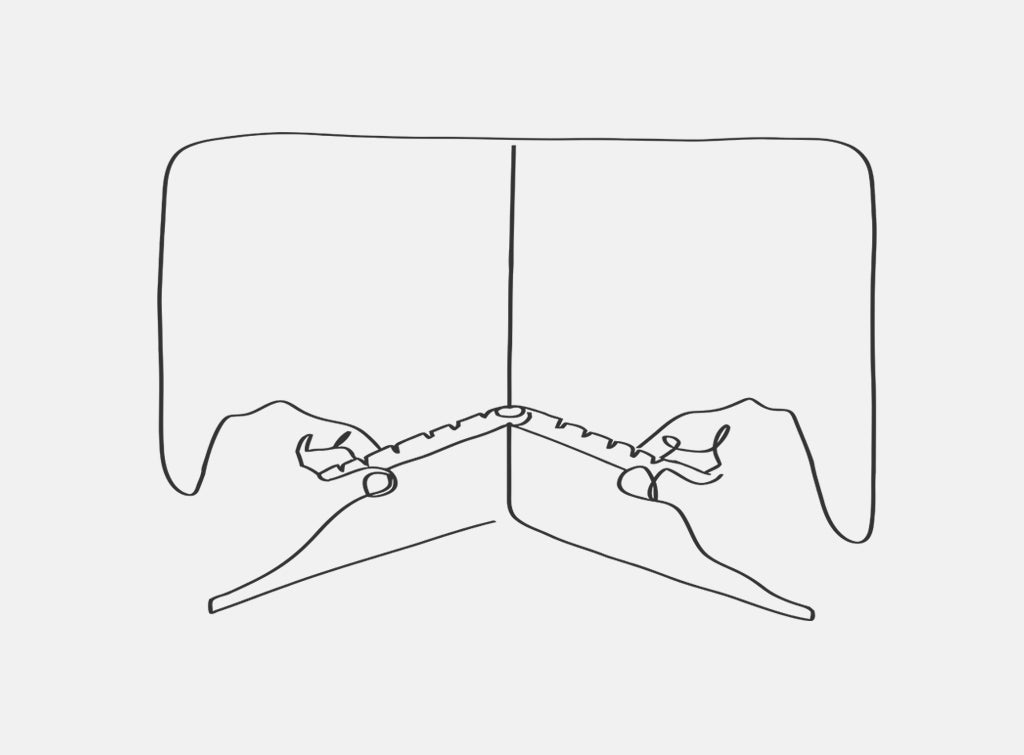
Apply a generous amount of installation adhesive to both bonding surfaces and the joints, and immediately install the strips by pressing them lightly.
Install the moldings so that the seams are even.
STEP FOUR: FINISH
Finish the joints by removing excess installation adhesive and smoothing the seams. Let dry for at least six hours, after which the seams are carefully sanded, and the ceiling and wall joints are treated with adhesive/putty.
Wait at least six hours before painting the moldings in your desired shade, either with a roller or brush.

STEP FIVE: RECYCLE
You can return any leftover moldings from your interior design project to us. It doesn't matter if the pieces are cut or painted, we will reuse and recycle them for you.
You can bring your surplus pieces to our showroom in Kamppi, Helsinki, send them to us (we will pay the shipping costs), or we can pick them up from the Helsinki city center area. You can also pick up pieces of products you have purchased from our warehouse at no additional cost if the molding you installed is damaged within two years of your order. The product intended for repair is either recycled or new, depending on availability.
Please email us at info@wallark.com and we will provide you with instructions for shipping or picking up your leftover pieces.
THANK YOU FOR CYCLING WITH US!